

As a physical therapist, you’ll always hear me talk about prevention – but blisters can be inevitable and this guide on blister management for hikers will help you stay on trail for multi-day adventures.
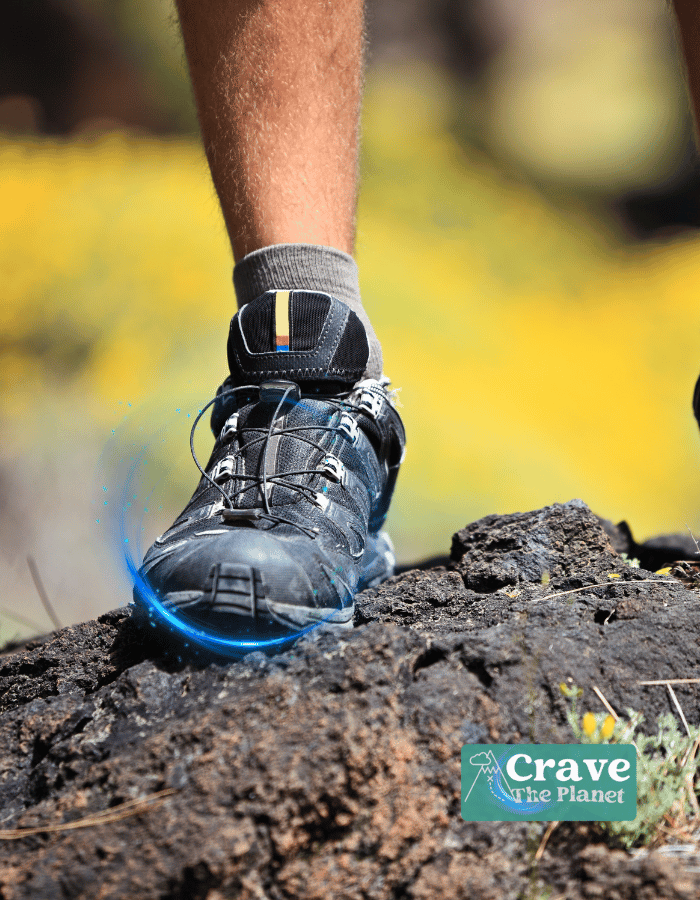
That amazing sense of exploration while doing multi-day hiking, however, could be dampened by the onset of foot blisters, a frequent issue that affects many hikers on extended journeys. While blisters might seem trivial, they can cause significant discomfort and impact your experience.
It’s fortunate that insightful strategies exist to prevent and manage these trail-borne nuisances.
With proper knowledge and care techniques, including understanding the reasons behind blister formation and effective treatment options, the right hiking socks and shoes and proper conditioning, hikers can keep their feet in top condition.
Expert advice from those experienced in the realm of foot care for outdoor activities provides invaluable guidance to ensure that your treks remain memorable for the right reasons.
Key Takeaways: Blister Management For Hikers
- Understanding and preventing blisters is essential for a comfortable hiking experience.
- Effective blister management relies on being prepared with a kit.
- Pro-active foot care and broken in footwear ensures the success and enjoyment of multiday outdoor adventures.
What to Bring Hiking to Deal with Blisters
When you’re out hiking, blisters can be a painful and frustrating interruption to your adventure. Having a specialized blister kit at the ready can be the difference between a minor inconvenience and a trip-ending injury.
Here’s what you should include in your kit for effective blister management:
- Real Hiking Socks and Well-Fitting Shoes: Use socks that are moisture-wicking and broken in shoes.
- Adhesive bandages: To cover small blisters and protect from further friction.
- Sterile gauze pads: For larger blisters that need a gentle cover.
- Moleskin: Cut a piece larger than the blister and apply it for cushioning around the sore spot.
- Antiseptic wipes: To clean the skin around blisters and prevent infection.
- Antibiotic ointment: An essential for applying on a popped blister to avoid infections.
- Blister treatment patches: They create a second skin, protecting the blister while it heals.
- Alcohol pads: Use these to sterilize any tools before puncturing a blister that needs draining.
- Needle and medical thread: Only for draining severe blisters, and only with proper sterilization and care.
- Medical tape: It’s flexible and strong, perfect for securing gauze or dressings in place.
- Tweezers and scissors: For handling and cutting dressings or moleskin with precision.
Remember, if you have a blister, keep it clean, apply treatment from your kit, and cover it to prevent further irritation. Adjust your hiking boots or add cushioning where necessary to reduce friction.
Regularly restock and check your blister kit to ensure you have everything you need before each hike. Safe trekking relies on preparation and knowing how to care for your feet – your blister kit is an essential part of that knowledge.
10 Tips for Foot Blister Management
1. Understanding the Mechanics Behind Blisters
Blister development goes beyond simple rubbing against your footwear. It’s the result of internal skin layers repeatedly stretching in response to the movement of bones in your foot with every step.
Once this shear force exceeds a certain threshold, a tear forms beneath the skin, and a blister begins to emerge, filled with fluid after a couple of hours.
Your footwear will absolutely make a difference, especially if you’ve not really tested it on trail.
2. Dispelling the Myth of Blister Inevitability

Contrary to popular belief, blisters aren’t a guaranteed outcome of extended treks. The actual catalyst is the shear distortion within the skin.
Factors like heat, moisture, and friction may contribute to discomfort, but focusing on reducing shear can significantly diminish the odds of blister formation, regardless of trail conditions or perspiration levels.
3. Maximizing the Initial Hiking Days (Break in Easy)
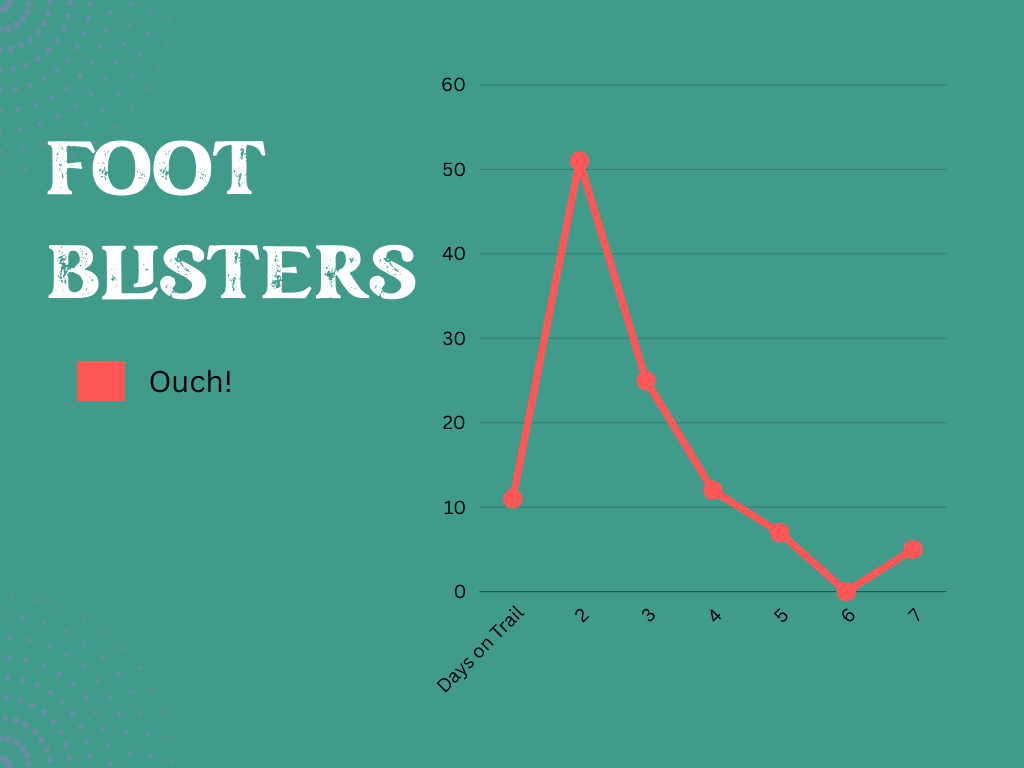
Preventing blisters is crucial in the beginning phase of your journey, with most blisters appearing on the second day. Monitor any hotspots closely and intervene promptly, as ignoring the initial signs often leads to a full-blown blister.
Consider a really short hiking day on your first day of a multi-day hike to avoid blister formation.
4. Leveraging Past Blister Experiences (They Tend to Be Recurrent)
Your blister history provides valuable insights.
Prioritize prevention in areas where blisters have previously formed, applying effective measures from the outset, rather than waiting for discomfort to signal a problem.
5. Evaluating Callouses: Protective or Problematic?
Callouses can seem beneficial, but since blisters and callouses stem from the same cause—shear force—they don’t inherently protect against blisters and may complicate treatment.
Address areas prone to callouses with proactive measures to prevent blistering during increased activity on the trail.
6. Strategies for Blister Prevention
Blister prevention isn’t one-size-fits-all. It requires tailored solutions for different areas of the foot, taking into account the unique challenges of your hiking environment.
Gel toe protectors, for instance, offer excellent defense against some toe blisters but may not suit all hiking scenarios due to factors like foot swelling.
For others, utilizing toe socks can be very helpful for managing blisters and for others they cannot stand the feeling of toe socks.
7. Interpreting Blisters Based on Their Appearance
A blister’s condition can guide your treatment choices. The state of the blister roof—intact, torn, or deroofed—determines the necessity for antiseptics and influences dressing selection to stave off infection and promote healing.
8. First Aid vs. Comprehensive Blister Care
Simply covering a blister with a dressing provides only basic care.
Meaningful treatment includes protection from the forces that caused the blister.
Utilizing preventative methods not just alleviates pain but also aids in healing while you continue your hike.
Many people find great relief with an existing blister or hot spot using a compeed patch.
9. Balancing a Light Pack with Essential Supplies

Streamlining your pack shouldn’t come at the expense of your foot care. Include essential blister management supplies in your first aid kit to handle blisters effectively without overburdening yourself.
Proper preparation enables you to carry less while maintaining readiness for common foot issues.
Pack light, feel right.
Related👉 Camino Packing List
10. Essential Blister Prevention Items for Your Pack
For efficient blister prevention on the trail, consider versatile items such as Engo Blister Patches. These thin adhesive patches are applied to your shoe, targeting friction and helping to maintain foot comfort through various conditions.
Become a European Adventure Travel Insider in Just 5 minutes
✨Unlock Europe’s best-kept secrets with our free bi-weekly newsletter.

Conclusion
You can treat and maybe even prevent blisters if you understand the “why” behind their formation. Say goodbye to blisters on hikes and multi-day treks.
Frequently Asked Questions
Preventing Heel Blisters from Hiking Boots
To keep your heels free from blisters, follow these steps:
- Choose the Right Boots: Ensure your hiking boots fit snugly without being too tight.
- Quality Socks: Wear moisture-wicking, well-cushioned socks that fit well.
- Break in Boots: Gradually break in new boots rather than wearing them on a long hike right away.
- Protective Tapes/Pads: Use protective tapes or blister pads on susceptible areas.
Wilderness Blister Treatment
When treating blisters in the wilderness, take these actions:
- Clean and Sanitize: Gently clean the blister and disinfect the area.
- Bandages or Moleskin: Apply a sterile bandage or moleskin to cushion the blister.
- Keep it Protected: Protect the area from further friction and monitor for signs of infection.
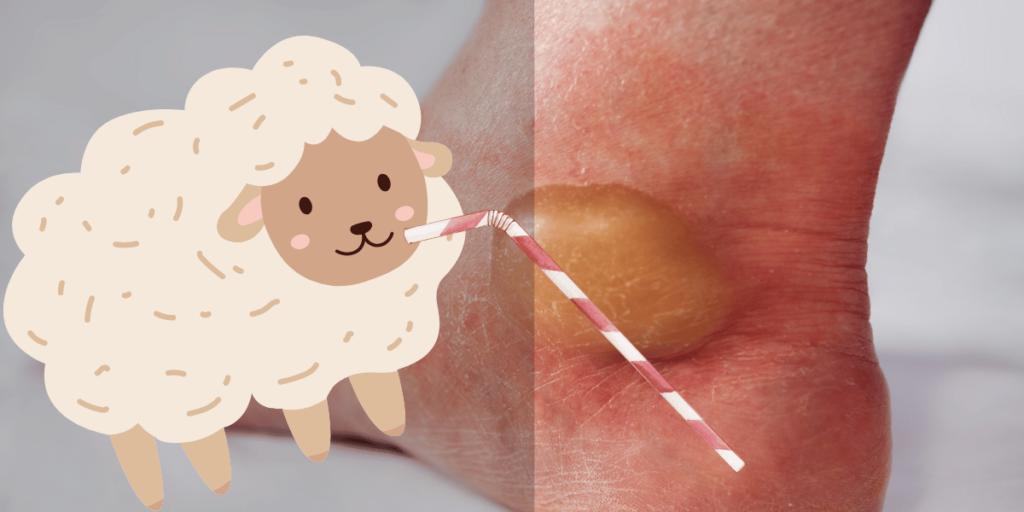
To Pop or Not to Pop
Popping a blister can increase the risk of infection. If you must:
- Sterilize a Needle: Use a sterilized needle to puncture the blister’s edge.
- Gentle Pressure: Apply gentle pressure to drain the fluid without removing the overlying skin.
- Cover and Protect: Cleanse, apply an antibiotic ointment, and bandage securely.
Blister Formation Prevention Techniques
Minimize the chance of getting a blister by:
- Skin Lubrication: Apply lubricants like petroleum jelly to reduce friction.
- Stay Dry: Keep your feet dry with talcum powder and change wet socks promptly.
- Frequent Rests: Take breaks during hikes to check your feet for hot spots.
Blister Treatment: Coverage vs. Air
Covering a blister is typically the best option:
- Bandages: Cover with a sterile bandage to protect against dirt and bacteria.
- Breathability: Choose breathable coverings to promote healing while shielding from further damage.
Hand Blister Prevention from Trekking Poles
Protect your hands from blisters in the following ways:
- Gloves: Wear well-fitted gloves to reduce friction from trekking poles.
- Correct Grip: Learn and maintain the correct way to grip poles to minimize skin stress.
- Handle Modifications: Use padded tape on pole handles for additional cushioning.

Author profile: Morgan Fielder is a Doctor of Physical Therapy and passionate hiker who believes in exploring the world on foot with good food. Follow her journey as she shares science-based hiking tips and advocates for sustainable tourism.