


If you find yourself with a blister despite all precautions, knowing how to treat it promptly and correctly can make all the difference in whether you leave the trails with just memories or with aching feet as well.
Quick Verdict: How to Prevent Blisters While Hiking
| Strategy | Description |
|---|---|
| Right Footwear | Choose well-fitted, appropriate shoes for the terrain |
| Protective Insoles | Insert quality insoles for added cushioning and support |
| Foot Care Routine | Regularly maintain feet hygiene and moisturize to improve skin resilience |
| Gradual Conditioning | Gradually increase walking distance to build skin toughness |
| Rest and Foot Assessment | Take breaks to check feet for hotspots and address them promptly |
Key Takeaways
- Adequate preparation and preventative measures are crucial for blister-free hiking experiences.
- Even experienced hikers can get blisters; knowledge of treatment is essential to continue a hike.
- Regular foot care and using appropriate gear help protect the skin’s epidermis during hikes.
Become a European Adventure Travel Insider in Just 5 minutes
✨Unlock Europe’s best-kept secrets with our free bi-weekly newsletter.

The Causes Behind Blisters for Trail Hikers
- Friction: Continuous rubbing against the inner shoe surfaces, particularly around the heel and instep, can irritate skin layers.
- Moisture: Sweaty or externally wet feet make the skin softer and more vulnerable to damage.
- Improper Fit: Tight footwear compresses foot areas, increases friction and pressure.
- Debris and Socks: Small particles inside your boot or folded socks create additional pressure points.
When you hike, these elements can combine to produce a painful blister, often filled with fluid, to protect the underlying skin from further injury.
Preventing Foot Blisters on Hikes
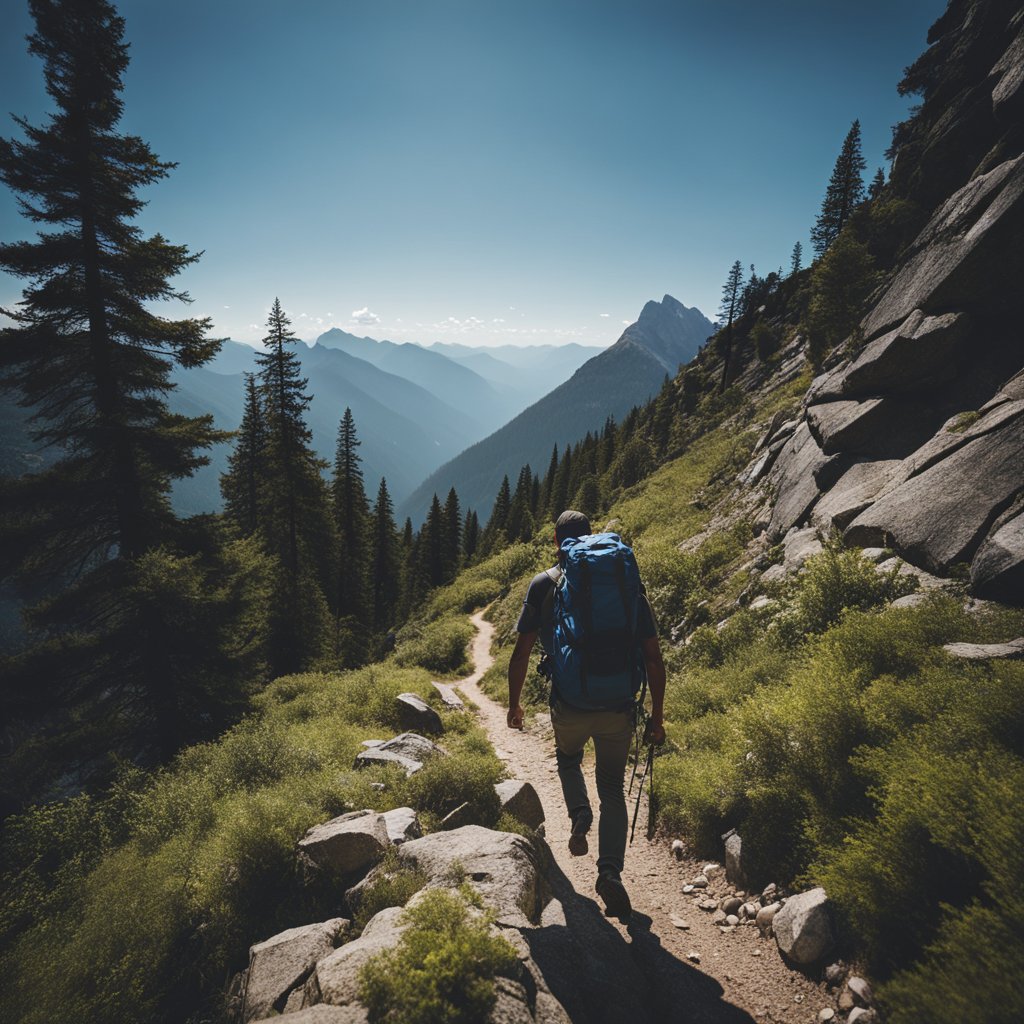
Securing Properly-Fitting Hiking Boots
- Space for Toes: Ensure space for toe movement to prevent cramming.
- Right Size: Ascertain proper sizing to stop heel movement uphill and toe bumping downhill. This usually means going up 0.5-1 size larger than your normal shoe size.
- Break-in Boots: Gradually break in your boots to soften them for comfort.
Selecting Suitable Hiking Boots
- Moisture Management: Get boots with moisture-wicking properties.
- Weather Consideration: Use waterproof boots for wet, cold hikes and breathable ones for warmth.
Honing Boot Lacing Techniques
- Lacing Styles: Practice various lacing strategies to solve different fit issues.
- Heel Lock: Learn heel-lock lacing to prevent heel slip.
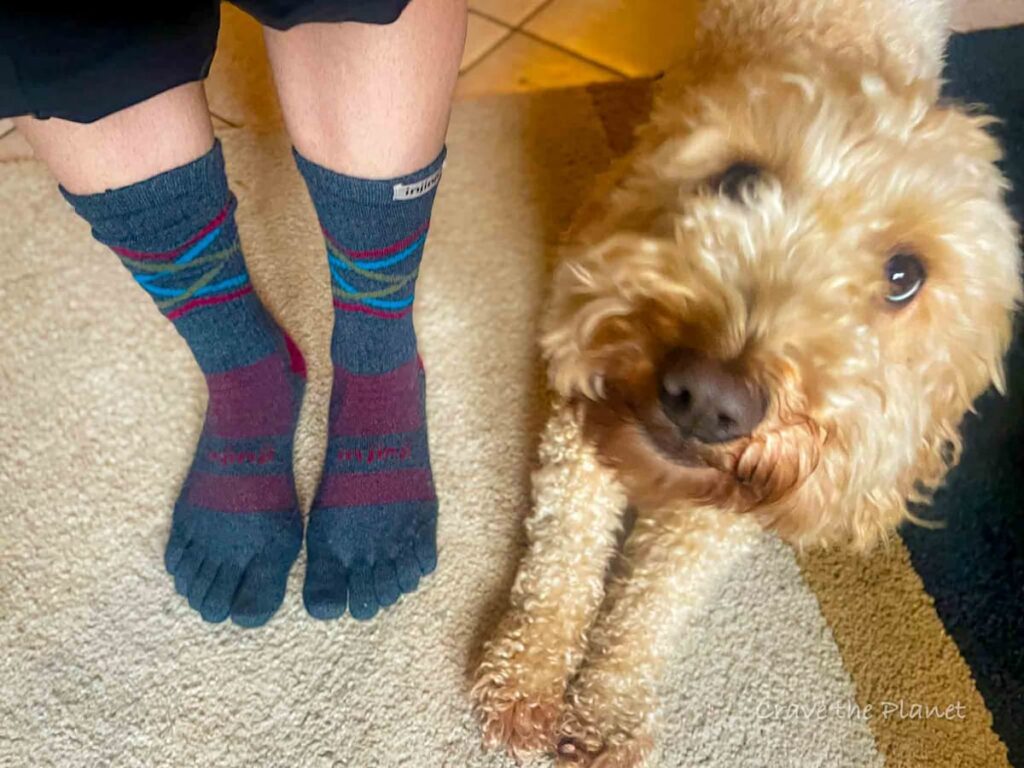
Choosing Appropriate Socks for Hiking
- Material: Select merino wool or synthetic blends for optimal moisture control.
- No Cotton: Avoid cotton to guard against moisture retention.
Ensuring Socks are Well-Fitted
- Snug Fit: Wearing the correct size prevents bunching inside boots.
- Match Boot Height: Socks should match the cut of your boots for proper coverage.
Matching Sock Thickness to Conditions
- Weather Appropriate: Opt for thicker socks in cold and thinner ones in hot conditions for temperature regulation.
Utilizing Liner Socks (Double Sock Method)
| Purpose | Recommendation |
|---|---|
| Sweat Wicking | They draw moisture away. |
| Reducing Friction | They lessen skin on fabric rub. |
| Pairing with Specific Footwear | Stiffer boots may necessitate them. |
This is what I learned from my time in the military – use a thin liner sock under your normal hiking socks to reduce your chances for blisters. The socks rub on each other vs your skin.
👉 Read my review of the best liners socks for hiking here.
Considering Individual Toe Socks
- Between-Toes Blisters: The Best 👉 Toe socks can provide individual toe protection against rubbing.
- For really tough toe blisters consider toe sleeves. They are little individual silicone caps for each toe.
Upgrading Insoles for Enhanced Comfort
- Support: Look for insoles that better contour to your foot for added support.
Keeping Toenails Trimmed
- Pre-Hike Pedicure: Trim nails to prevent against the boot interior irritation.
Drying Out Feet and Boots
- Take Breaks: Remove boots and air out feet regularly during breaks.
- Change Socks: Pack an extra pair of dry socks to swap if needed.
Preparing for Water Encounters
- Alternate Footwear: Carry water shoes for stream crossing.
- Dry Off: Use a quick-dry towel to ensure feet are thoroughly dry before re-socking.
Applying Anti-Friction Balms and Lotions
- Prevention: Use creams or balms to reduce friction points.
Strategic Taping Before Hiking
- Moleskin Tape: Apply to common blister sites for extra protection.
Keeping Feet and Boots Clean
- Sanitation: Clean feet lead to lower chances of blister formation.
Using Gaiters to Protect Feet
- Barrier: They act as shields against debris that can cause friction.
Addressing Early Signs of Hot Spots
- Immediate Care: Treat any sensation of burning or discomfort swiftly to prevent full-blister development.
By attending to these aspects of foot care and gear selection, you are taking proactive steps to ensure a more enjoyable and blister-free hiking experience.
Managing Blisters During Outdoor Activities
Assessing Whether to Drain a Blister
Evaluating a blister correctly is crucial to determine the next steps. A blister that’s likely to rupture or is notably painful when walking might need to be drained to avoid further discomfort or injury. However, if it’s minor and can be protected sufficiently with padding, then it’s advisable to leave it intact and monitor for any changes.
Considerations for draining a blister:
- Is the blister so large or painful that walking becomes nearly impossible?
- Will it likely burst on its own due to pressure and friction?
- Is the environment clean enough to safely manage the wound after draining?
Drainage Procedure for Blisters
If draining a blister is the chosen route, maintaining cleanliness throughout the process is paramount to prevent infection.
Steps to safely drain a blister:
- First Aid Kit: Clean the area around the blister with an alcohol wipe for disinfection.
- Sterilize: Use heat, such as a flame from a lighter, to sterilize a needle or knife point.
- Puncture: Carefully make the smallest hole in the blister to release the fluid.
- Press: Gently massage the area to drain the fluid completely.
- Protect: Apply antibiotic ointment to the blister to ward off infection.
- Dress: Cover the area with sterile gauze or a band-aid for protection.
- Secure: Use medical tape to ensure the dressing stays in place. Avoid strong adhesives directly on the blister.
Protective Padding of Intact Blisters
Should you opt to leave your blister undrained, proper cushioning can protect it from enlarging and reduce pain.
Padding methods:
- Moleskin: Cut into a doughnut shape with the blister in the center, and cover with another layer of moleskin or medical tape.
Padding Type Purpose Advantages Molefoam Extra thick cushioning Adaptable, cuts to size Gel Bandages Pad and claim to promote healing Extended wear, no cutting Moleskin Traditional protective layer Easily customizable to shape - Blister Treatment Bandages: Look for gel bandages which both cushion the blister and promote healing. Note that these usually cannot be trimmed to size, so carrying assorted sizes may be necessary.
Choosing the Right Protection:
- Experiment with different types to see what works best for your needs.
- Consider the longevity of the bandage—some may last through activities and showers.
- Balance the cost against the benefits—more expensive bandages might offer better features.
Remember, effective blister treatment not only alleviates discomfort but also prevents further damage to the skin.
Consistently check for any signs of infection, such as redness or pus, and adjust your care plan accordingly. With the right approach, you can continue your outdoor pursuits with minimal interruption from blisters.
Foot Care Essentials
When it comes to tending to your feet on hikes, some items are non-negotiable. Your blister first aid kit should always include:
- Pre-Cut Moleskin: Provides a cushion to sensitive areas.
- Medical Adhesive Tape: Secures dressings in place.
- Assorted Bandages: Waterproof varieties offer better protection.
- Cutting Tool: Scissors or a multi-tool for trimming dressings.
- Sterilizing Wipes: For cleaning wounds before dressing.
- Antibiotic Ointment: To prevent infection in a blister.
- Sterile Needle: For safely treating blisters.
- Advanced Blister Bandages: Specifically designed for blister care.
Additional Foot Care Items
While some items are crucial, others can enhance your foot care practices but are not always necessary. Depending on the hike’s difficulty and your susceptibility to foot issues, consider:
- Nail Clippers: To prevent toenail discomfort or injuries.
- Friction Block Stick: Like Foot Glide and First Aid Kit to minimize chafing.
- Rigid Tape: Leukotape offers strong support for joint stability.
Maintaining foot health on the trail is critical—preventing issues is often easier than treating them. These supplies will assist in effectively managing common foot ailments encountered during hikes. Proper preparation can be the difference between a painful experience and a memorable adventure.
Common Questions About Blister Prevention for Hikers
Optimal Sock Choices to Ward Off Blisters
- Select moisture-wicking materials to keep feet dry
- Opt for socks without seams to reduce friction
- Choose socks with padding on common blister sites like heels and toes
- Think about liner socks or toe socks if you continue to have problems
Remedies for Blisters Post-Hike
- Gently clean the blister with soap and water
- Sterilize a needle with alcohol to puncture the blister if needed
- Apply an antibiotic ointment and cover with a sterile bandage
Tactics for Heel Blister Prevention With Boots
- Ensure boots are well-fitted with no excess room to slide
- Break in new boots gradually before a long hike
- Use specialized heel pads or liners to minimize movement
Hand Blister Protection During Rigorous Hikes
- Wear gloves designed for the activity to reduce rubbing
- Apply protective tape to high-friction areas before starting
- Keep hands dry; use chalk or sweat-absorbing powders if necessary
Efficacy and Application of Blister Prevention Tape
- Blister tape adds a protective layer to reduce skin friction
- Clean and dry the area before applying the tape smoothly
- Overlap tape edges and press firmly to secure it in place
More Resources
Discover gear that elevates your outdoor adventures. As a physical therapist, I’ve curated product comparisons to enhance safety and enjoyment, perfect for beginners or those with weary knees.
Physical Therapist Curated Gear Guides for Hikers & Skiers
- 🧎 Make your knees feel better while hiking and walking: Best Knee Braces for Hiking
- 🌳Make the downhills stop hurting and hike with more confidence Best Trekking Poles Review
- ⌚ Never get lost on the trail and navigate the wilderness safely with My Review of the Best GPS Watches for Hiking
- ❄️ Go hiking on uneven terrain safely: The Best Hiking Boots with Ankle Support
- Don’t get lost in the backcountry with : My Review of the Best 2 Way Radios for the Mountains
My Guides to Bucketlist Hikes in Europe
(That I’ve personally done and loved.)
Craving a Hut to Hut Hiking Adventure?
Hut to Hut Hiking in the Dolomites Free Course
Curious about hut-to-hut hiking in the Dolomites, but not sure where to start or what to expect? Sign up for our newsletter that simplifies and educates so you can focus on the views and vino. Get curious, get ready, and let’s get started! Sign up here👇🏼
- Free Email Course to Learn : Everything You Need to Know About Hut to Hut Hiking
We hope this guide filled with interesting information about How to Prevent Blisters While Hiking has given you the proper information to plan your next adventure.

Author profile: Morgan Fielder is a Doctor of Physical Therapy and passionate hiker who believes in exploring the world on foot with good food. Follow her journey as she shares science-based hiking tips and advocates for sustainable tourism.